Showing posts with label DIY. Show all posts

Thursday, January 31, 2013

A Tutorial X's 2!

This post is a two-fold tutorial:
1. An easy copy/transfer method
2. A personalized canvas

This canvas is from a project wall in my dining room(reveal coming soon)
I printed off several "R" 's in different fonts and sizes. 
I settled on A Font with Serif's. One of the main reasons was because it was thick enough to trace and fill in. 

The wreath art I got here. 

Turn your art over and shade over the back of the image with the side of a pencil. Press pretty hard - the darker the better. 

Turn your art work over and position it where you want it. I chose to offset mine in the corner of the canvas for a little added interest. 

With your pencil, trace over the entire picture, pressing as hard as you can. 

I was left with a faint outline!

With a very fine brush and some acrylic craft paint, I free-handed over the outline. 

After the wreath dried, I repeated the steps to add the "R"!

Embrace the imperfections! 

 The free-hand look is what I love the most about it!

Sunday, July 22, 2012

The Last Room

My mom and I had a few days to ourselves(4 to be exact) several weeks ago. Blake took the kiddos to visit his family and I'm not allowed to travel so Mom and I brainstormed a "To Do" list. At the top of the list was the kids bathroom. It was the last room in the entire house still left to repaint! I don't have any before pictured but it involved a brown paint and towel bar. It was dark and just felt dirty. 

Here is what the family came home to. 
All credit goes to Mom. 
I simply purchased the supplies and sat across the hall in the nursery and chatted while she worked. :) 


Wall Color: Bay Waves(Satin) by Valspar
Trim: Ultra White(Semi-Gloss) by Valspar
Hooks: Hobby Lobby and Anthropologie
Knobs: Hobby Lobby

Wednesday, June 27, 2012

Anthropologie Letter Look-A-Like

I love the zinc letters from Anthropologie... I do not love that they are $18 a piece!
When I found a tutorial on pinterest for a look-a-like, I knew I had to give it a try. 

Supplies:
Paper mache letters(got mine at Hobby Lobby)
Black craft paint
Silver metallic craft paint
foam brush
small craft paint brush

I wish that I had thought to take photos as I went, but wasn't thinking that clearly that night.

Here is how I made my letters:
1. Paint backs and fronts of letters with black paint using the foam brush. It was a perfect brush to use because it left a smooth surface with no streaks or brush marks.
2. Dry brush the metallic silver paint over the dried black paint. Brush the paint in 1 direction(I used downward strokes.) I started with a small amount of a paint on my brush and just added from there to reach the desired depth of color. You will want the black visible through the silver. 
3. Let dry.
4. Hang with double-sided tape or command strips. I used the command strips since my letters went over the kids beds. 


I spent about $12 total on all of the supplies for 3 letters! 
I'm trying to think of another place to put a letter or two because I LOVED the way these turned out! 


Monday, January 23, 2012

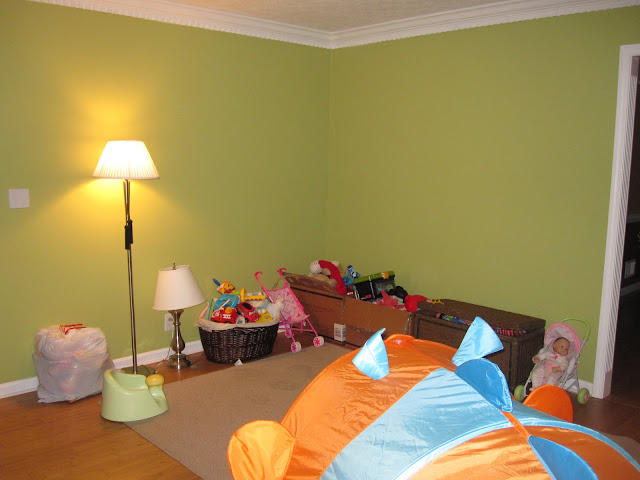
The Evolution of a Toy Corner

Our home's living room has become our families toy room... It is a slow evolution, but I'm starting to become quite happy with the direction it is headed.

April 2010

May 2010
The bookcases were a housewarming gift build by Blake's grandfather. Custom fit to the corner and baseboards.

January 2012
I'm not ready to share the entire room, but this corner is close to being finished.

 Most of these frames have been laying in a pile in our basement since we moved into our home in April 2010. The photos rang from family photos 2011, Disney World 2011, a few snapshots I took, and the white frame is photos from our wedding rehearsal.

 I love this art. I should, it took 13 hours to complete. :)
Everyone should have a friend that will stay over till after midnight 2 different nights because she is a much better stenciler then you are. :)

A tutorial will be coming...
Wall Color: Eddie Bauer Wicker
"R" Initial Print & "Grateful" Print: JDC Monthly
Related Posts Plugin for WordPress, Blogger...